Thin Section Technology
SystemAbele®
Made in Germany


Preparing Thin Sections with SystemAbele®
is faster, safer and provides thin section of highest quality
and is cost-effective.
Instructions and Tips:
Downloads PDF:
Producing a Thin Section
The best approach for producing a thin section f is as follows:
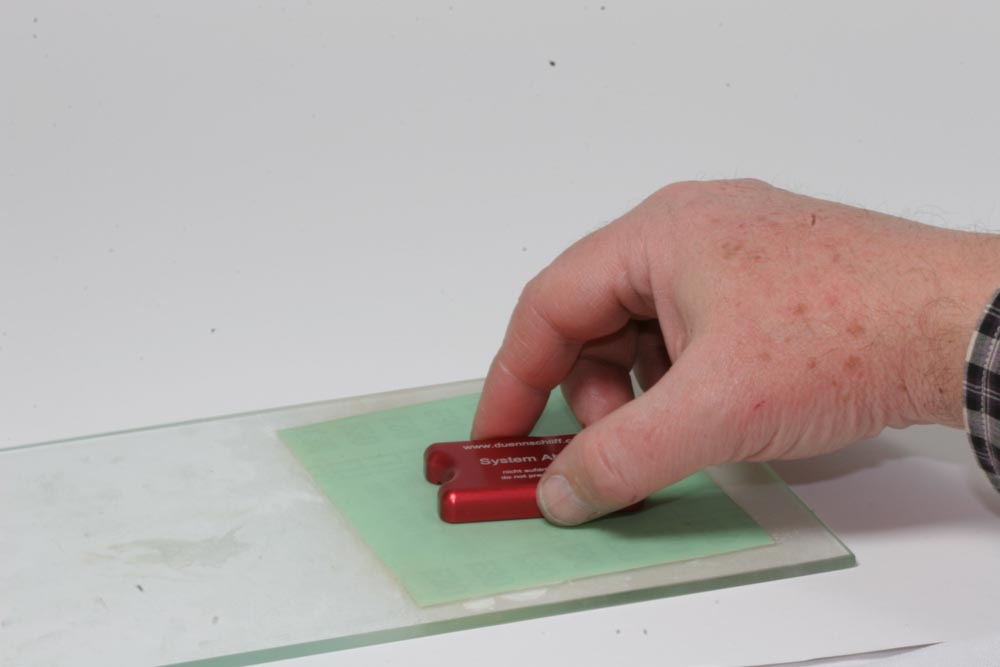
1
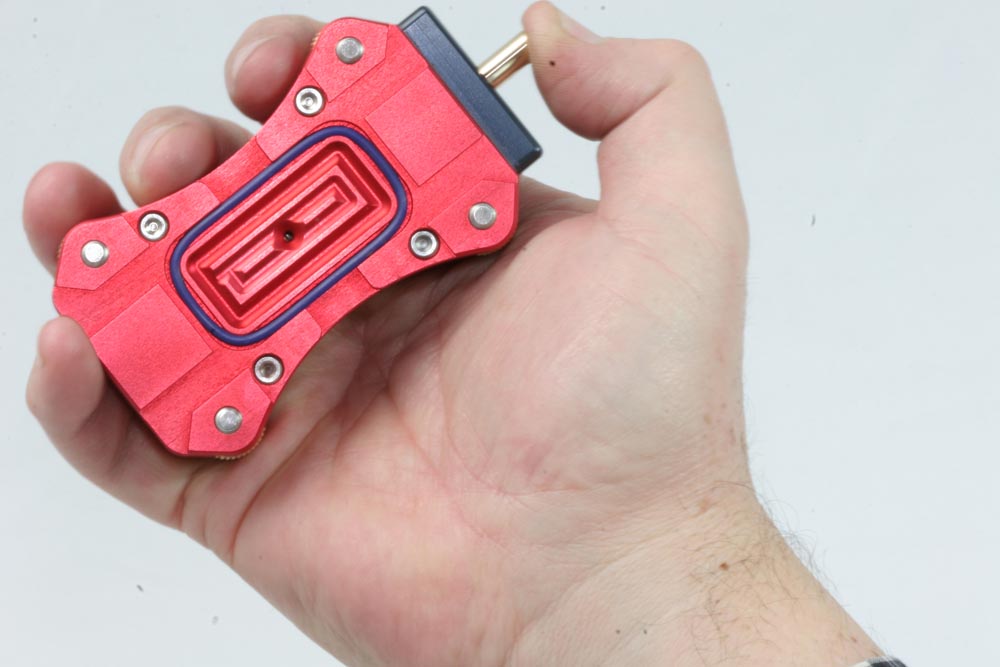
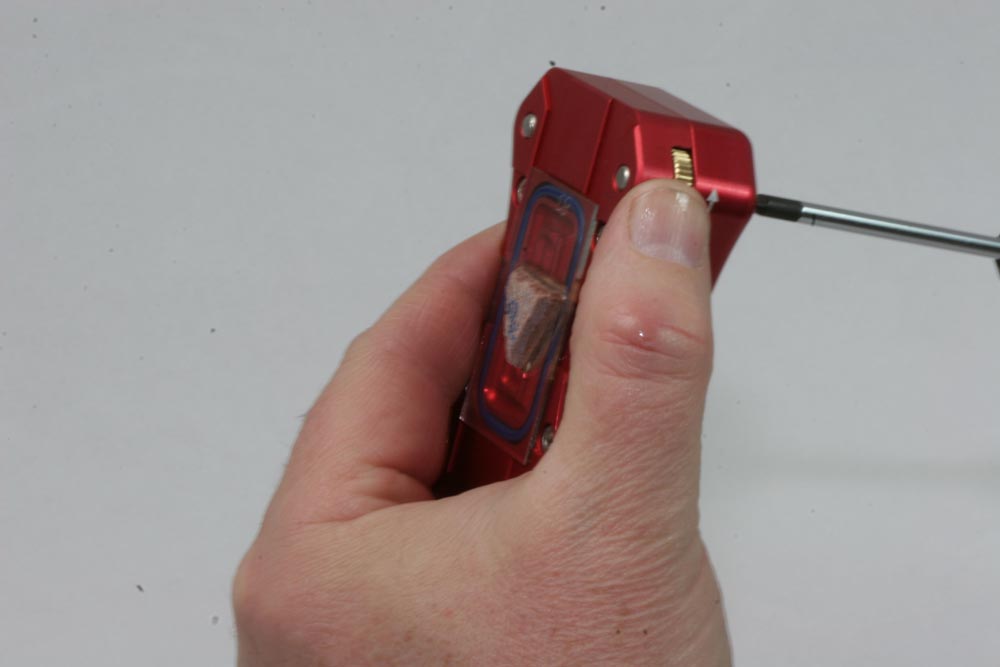
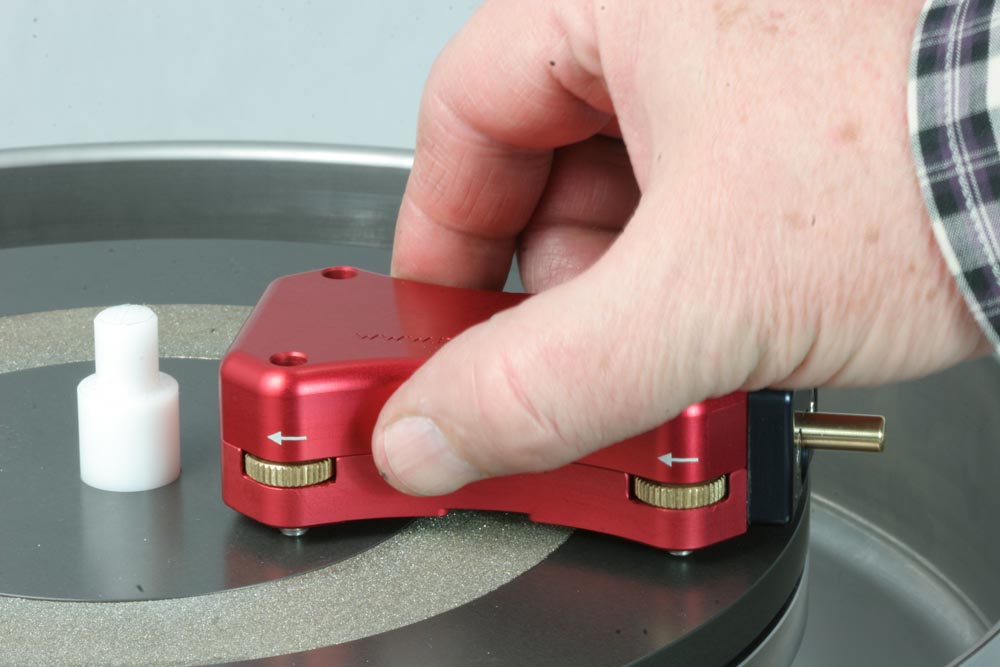
Take hold of the grinding mouse as shown.
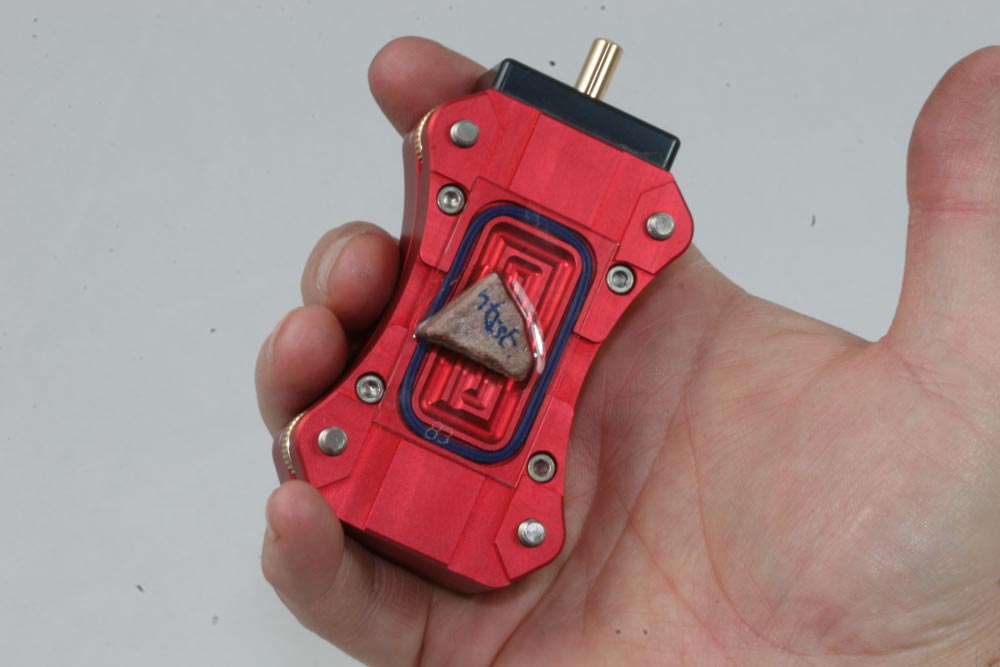
2
Fix the microscope slide by moving it between the boundaries, then press the button entirely and hold it in the pressed position.
By pressing the button several times under water or jet of water, the piston is completely sucked with water.
By sucking water instead of air, a better hold of the microscope slide is guaranteed.
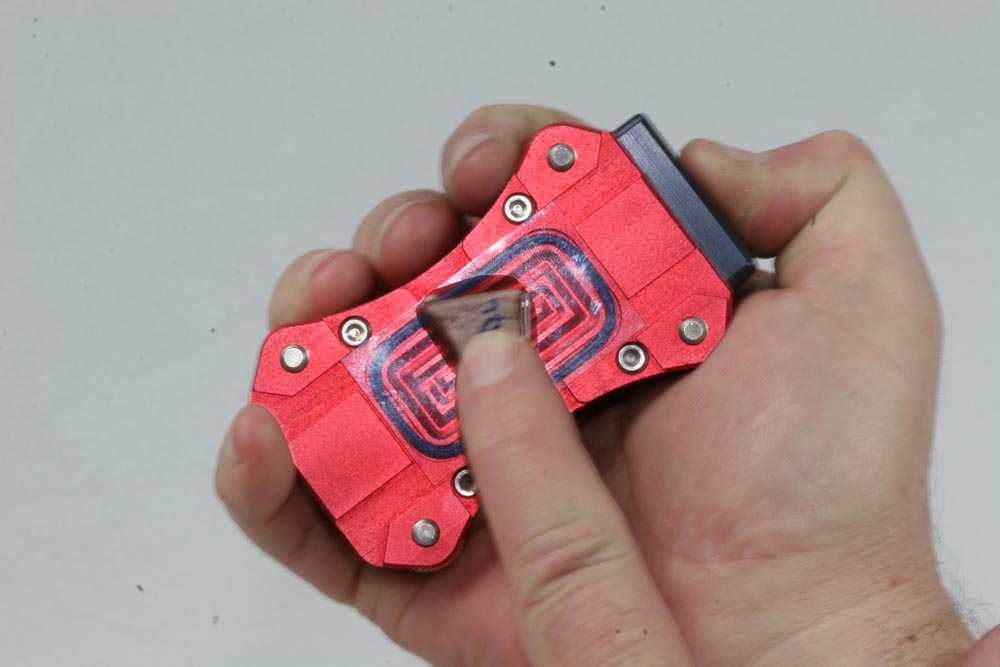
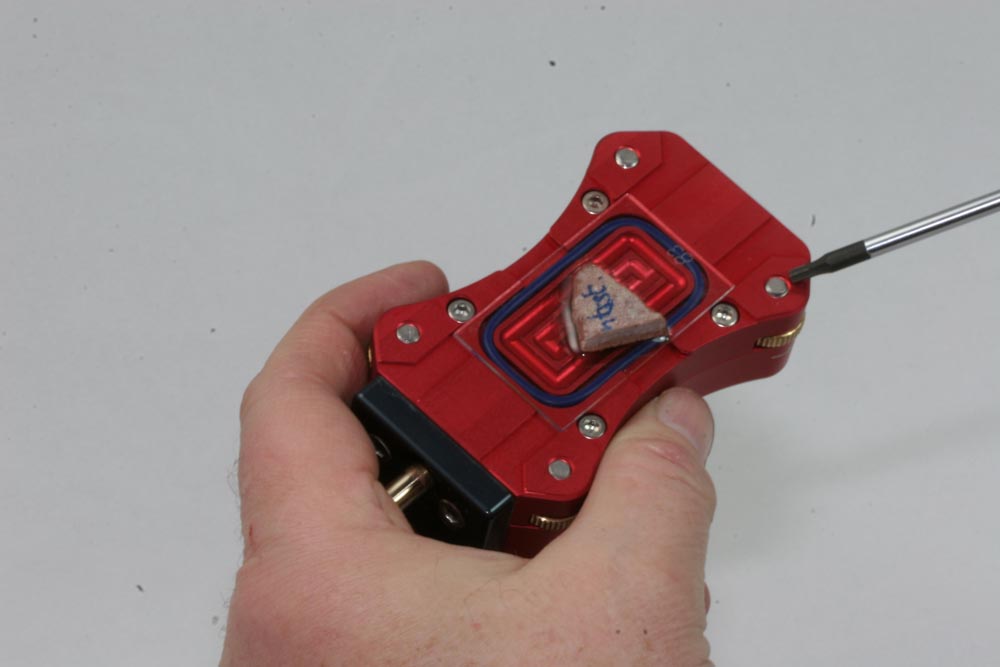
3
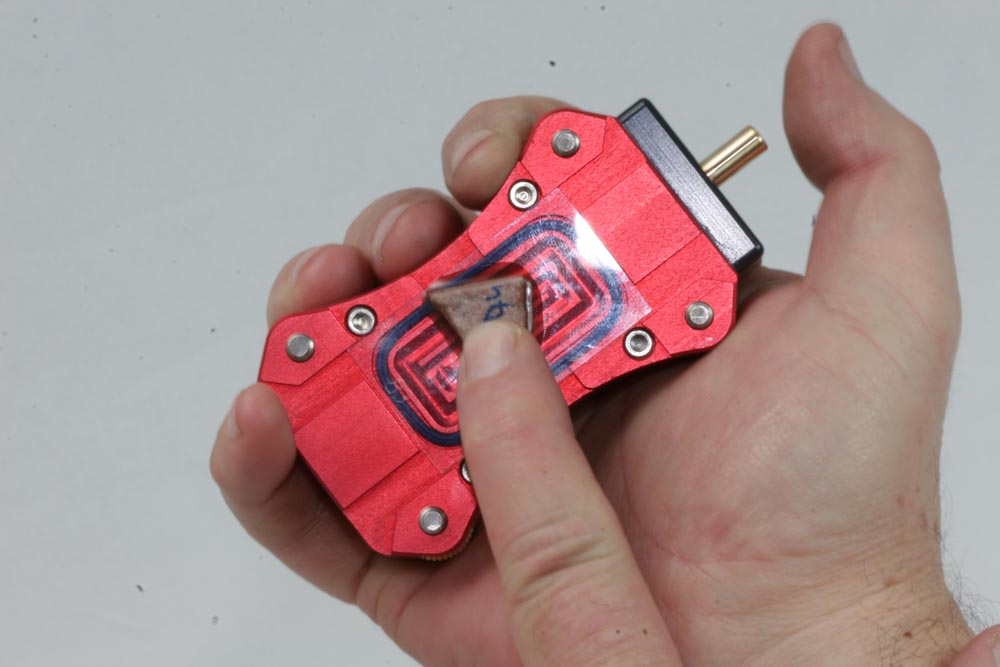
Press your finger onto the microscope slide and release the button.
4
Now the microscope slide is fixed extremely securely.
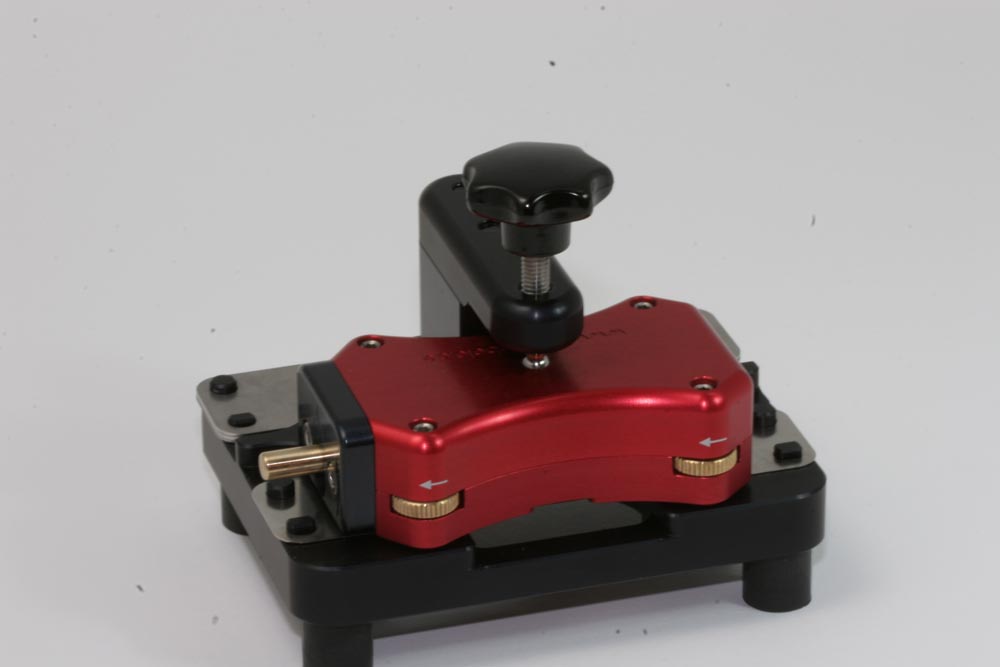
5
Release the brass counter nut; sway it slightly in order to get a free movement of the distance feet.
Turn back all distance feet completely by NOT USING ANY FORCE.
6
All distance feet are now flush with the rear side of the Grinding Mouse.
7
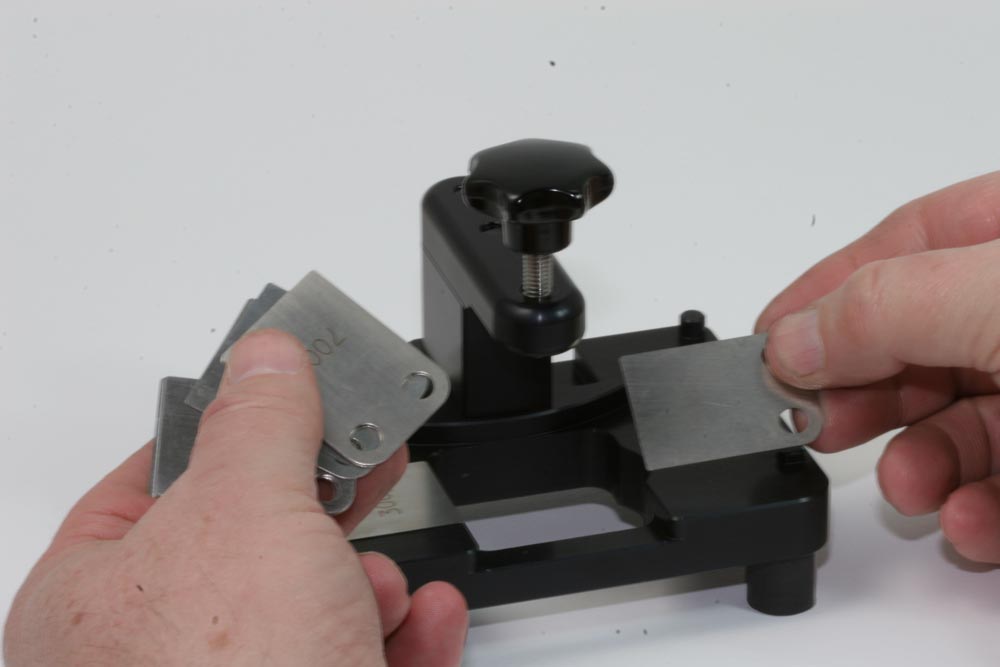
In the next step choose suitable blank sheets according to your requested thickness of grinding and insert one into each side of the device.
The blank sheets are marked accordingly their thickness.
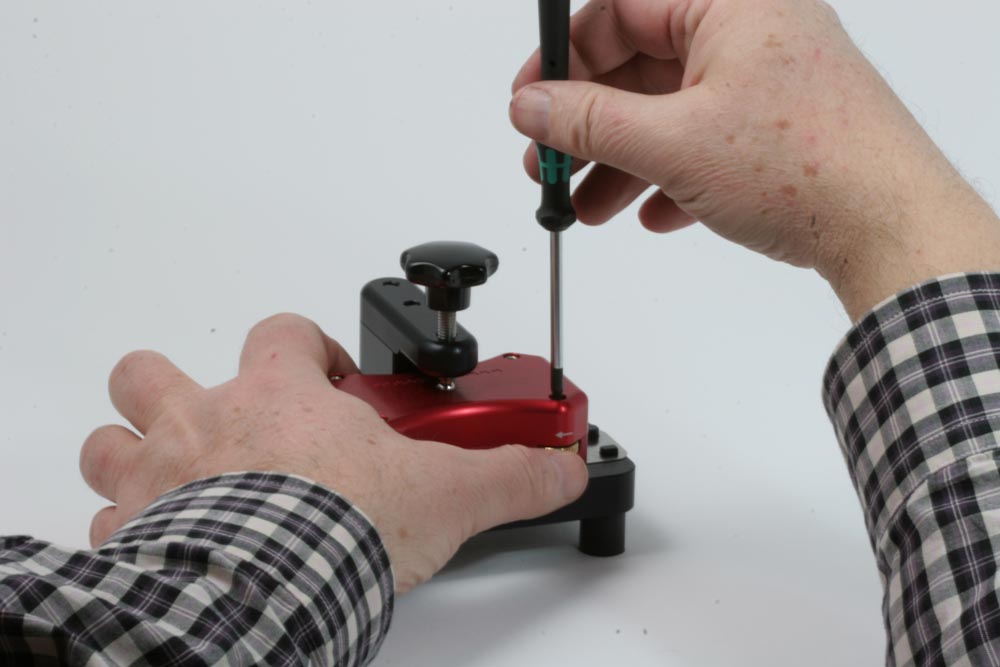
8
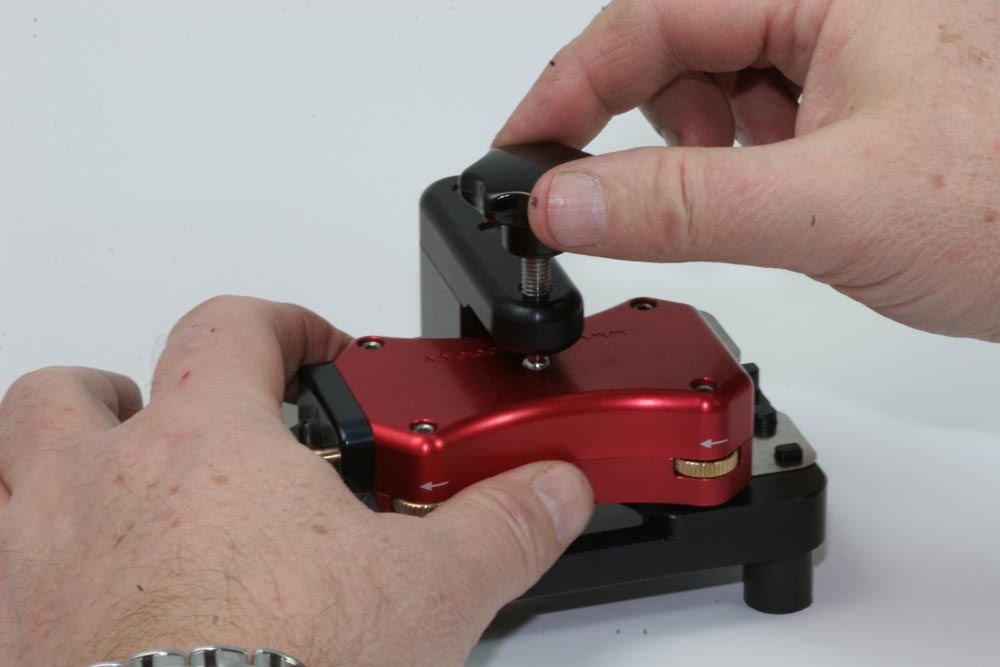
Slightly upturn the pressing screw of the setting device, fix the grinding mouse into the right position, and then tighten the screw moderately.
9
Check if the grinding mouse is in the correct position of the setting device.
Hereby make sure that the screw presses exactly onto the stainless steel ball on the upper side of the grinding mouse.
10
Now turn all four distance feet gently down until they press slightly onto the surface of the setting device. Hereby sway the brass counter-nut so that the respective distance foot can be turned freely.
The position of the distance feet must be secured immediately with the brass counter-nuts IN DIRECTION OF ARROW in order to prevent any turning out of the position of the distance feet. Now the distance feet protrude out of the microscope slide exactly by the requested thickness of grinding.
11
You are now ready for grinding. As soon as the distance feet prevent further grinding, the thin section is finished.
12
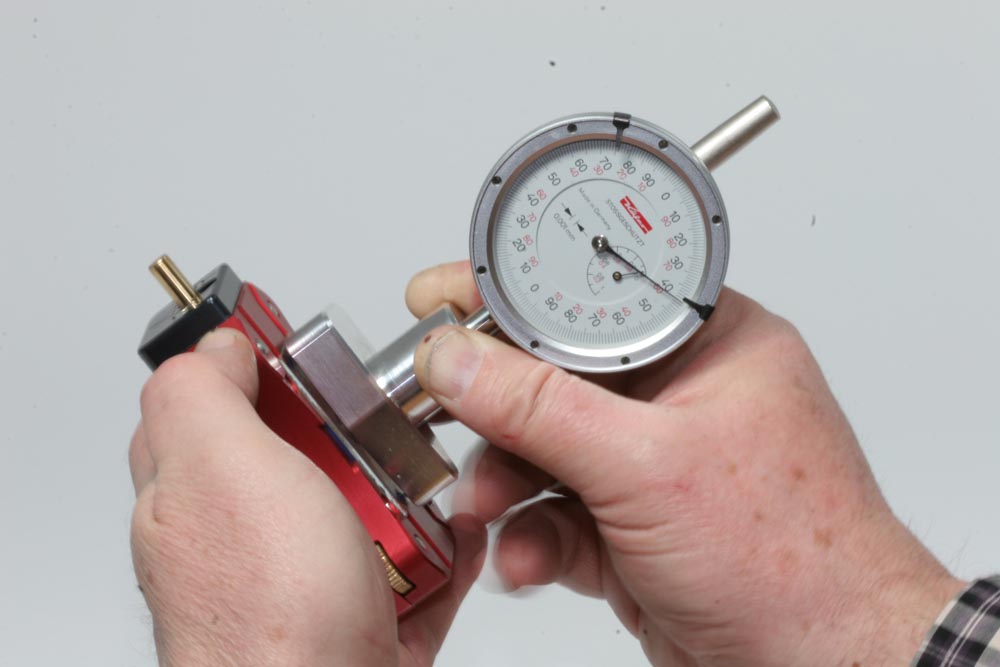
By means of the gauge the thickness of the grinding during processing can be checked absolutely precisely within seconds.
13
When using the polishing mouse, the grinding process is finger protecting and a surface finish is reached conveniently and exactly on any grinding medium.
Please only press gently in order to avoid the grinding to become wedge shaped, rough or too thin. Checking this by the help of the gauge provides absolute security.
Recommend this website: